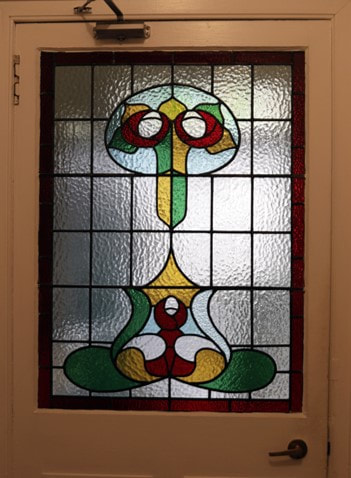
This project was for the repair of a large door panel that had been damaged, with a number of pieces of glass needing replaced, including an earlier repair using a poor glass match. It appeared as if someone may have pushed against the panel when the door was fixed shut and bowed the lead thereby stressing and breaking some of the glass elements. The plan was to put a sheet of safety glass in the door and mount the repaired leaded panel behind it to try to prevent a repeat. This is now complete.
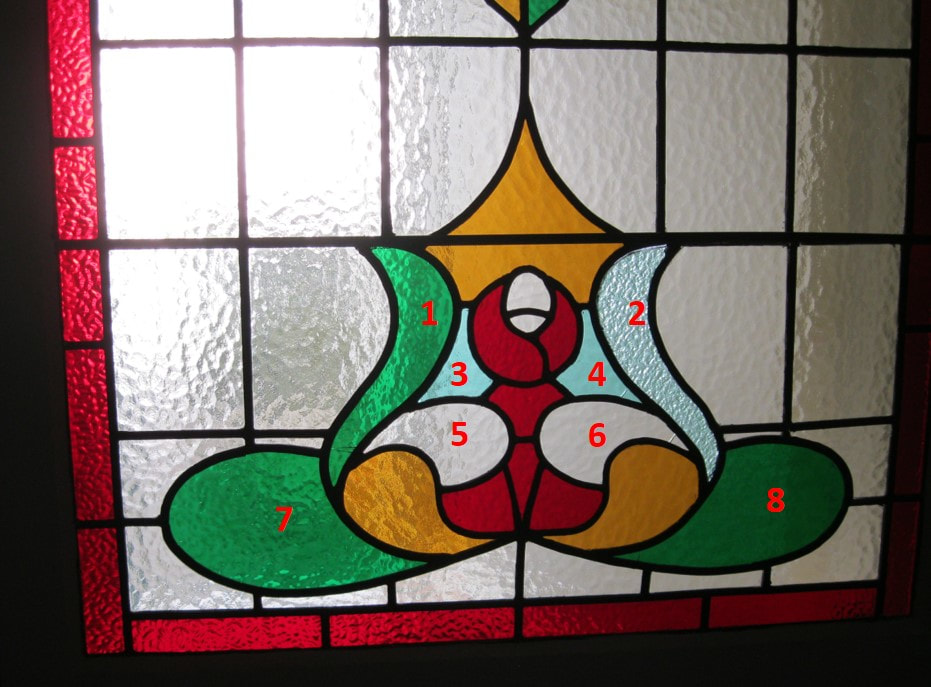
We were unable to get a perfect match for the glasses that needed replaced, so as to maintain symmetry, we replaced the four broken pieces, the poor earlier repair and three other pieces that were intact, but would not match. Pieces 1, 4, 6 and 7 were broken, piece 2 was from the earlier repair and pieces 3, 5 and 8 were replaced to maintain symmetry. The glass used for the replacement was Antique Cathedral Glass.
We were unable to get a perfect match for the glasses that needed replaced, so as to maintain symmetry, we replaced the four broken pieces, the poor earlier repair and three other pieces that were intact, but would not match. Pieces 1, 4, 6 and 7 were broken, piece 2 was from the earlier repair and pieces 3, 5 and 8 were replaced to maintain symmetry. The glass used for the replacement was Antique Cathedral Glass.
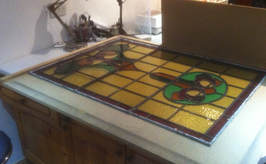
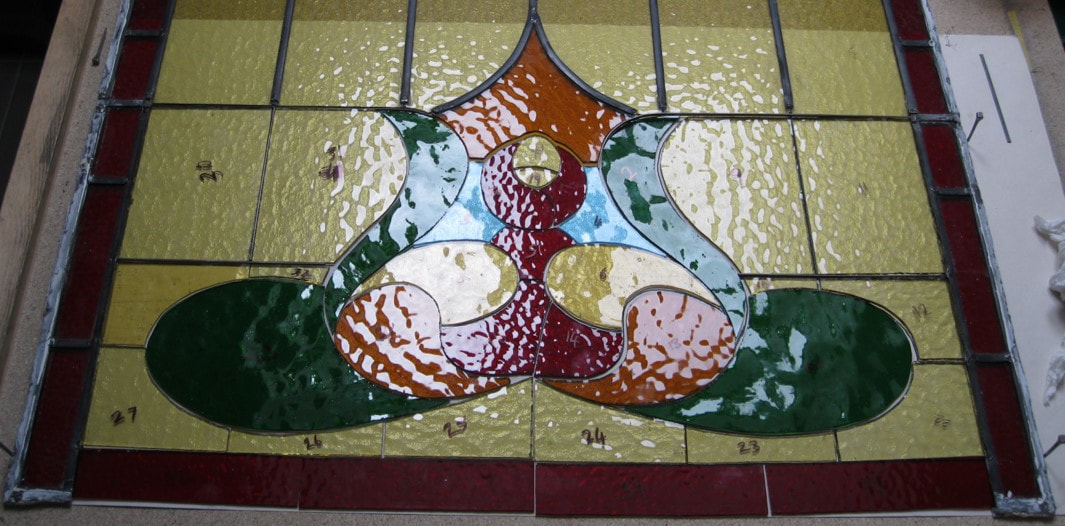
The damaged panel in place
|
|
The first challenge to overcome was extracting the panel from the door frame. It was held in place with putty, which was mostly well hard. The glazier used great skill and patience to remove the putty, with some assistance from Pat, and then the panel was successfully removed to its travelling board. With due care, skill and no doubt a measure of luck, no further breakages of glass occurred.
Gone!
|
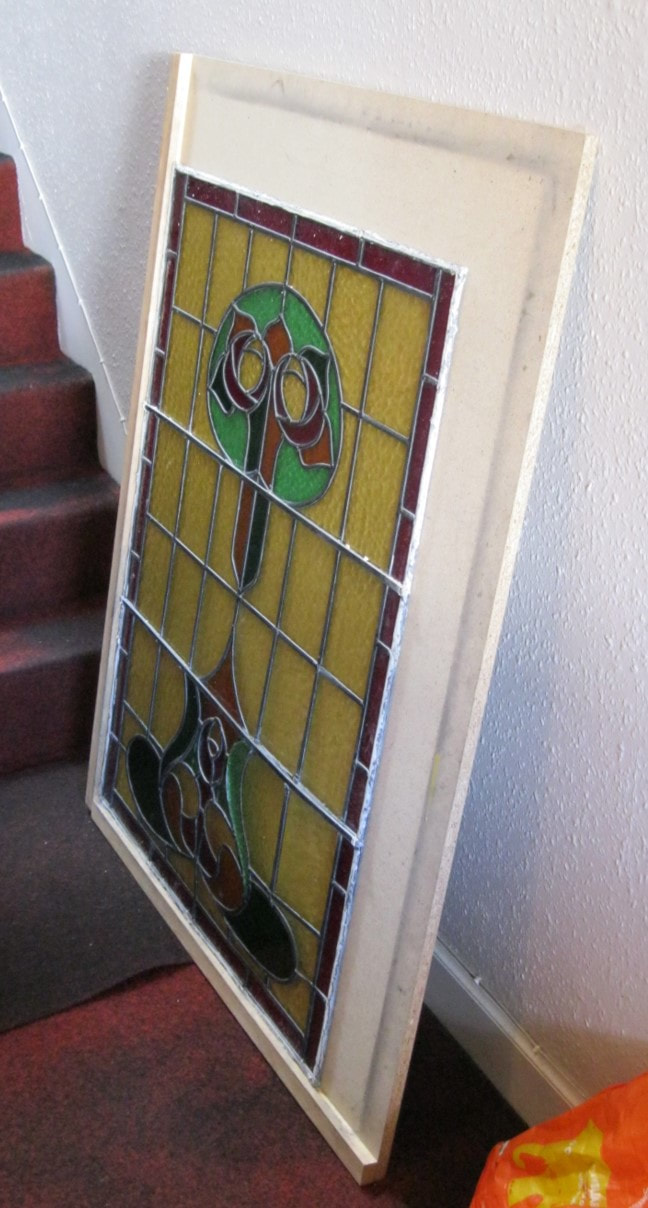
Loaded to its supporting board for transport to the studio
|
In the studio, ready to begin
Disassembly begins, glass for re-use being numbered and lined up for cleaning
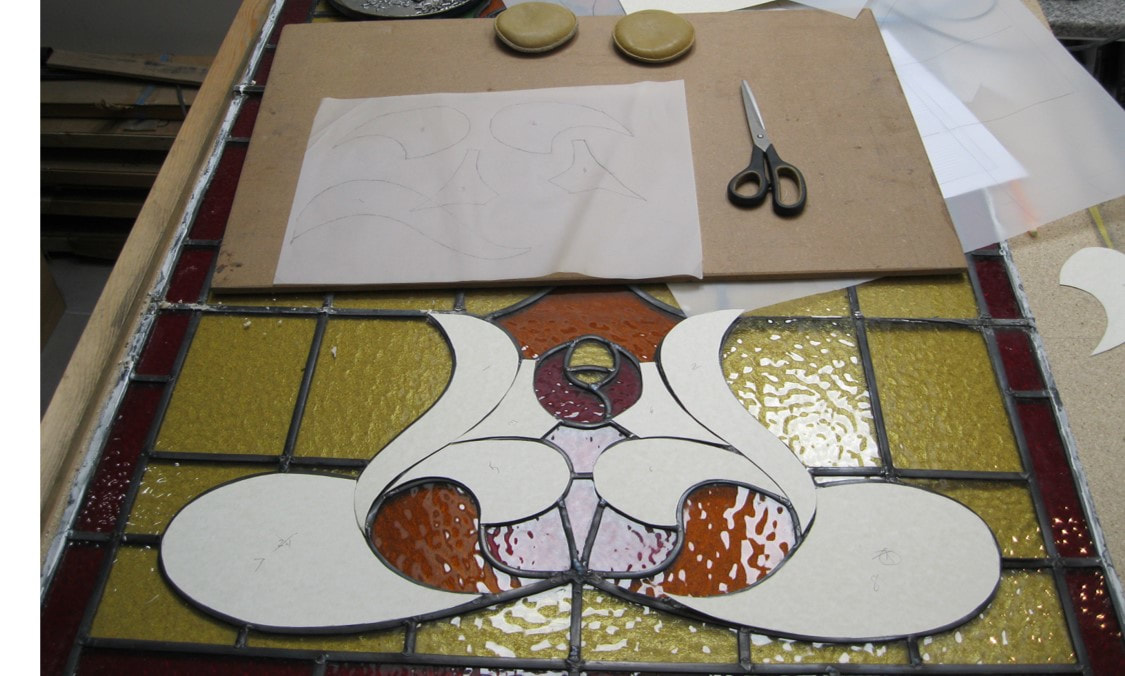
Tracings made of the glass to be replaced and converted into card templates
|
The next challenge was to come up with a disassembly plan that would allow all the planned glass replacement, while doing minimum damage to the existing window lead. The most obvious place to start was the piece of replacement glass that had been inserted to achieve an earlier repair and which was a little loose already. This proved successful in starting to allow access to gradually remove more. Removal progressed from right to left to what was considered an absolute minimum of glass removal and happily no further breakages of glass occurred.
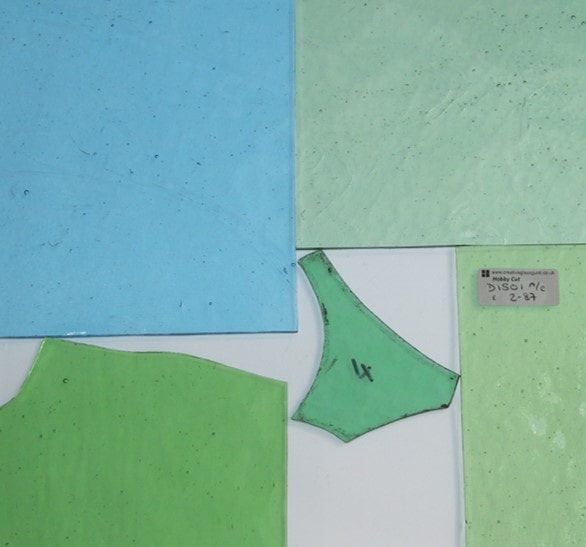
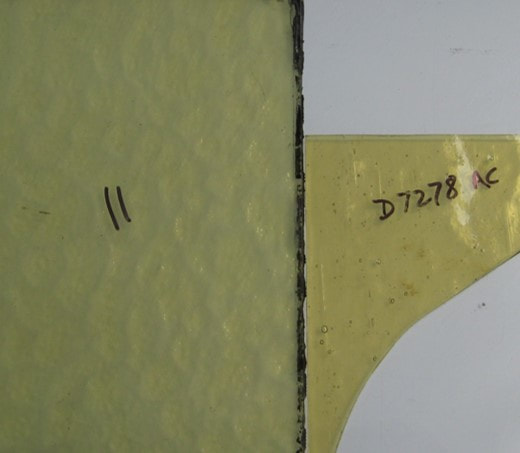
Having removed the minimum amount of the existing glass to be able to effect a repair, it was time to return to the question of glass choice, now the extracted glass could be more effectively compared to the originally planned glasses. Texture wise, the cathedral glass was still seen to be a fair match, if the replacement parts were cut to avoid the streaky textured parts of the glass with low bubble density. However, none proved to be sufficiently close to just replace the broken glass and get a pleasing result. So decision point was reached. Before deciding on the next step in the repair project, Pat consulted again with the client on the glass choice. Piece 4 in the picture to the right, along with its mirror image piece 3 were planned to be replaced by the turquoise glass top left. However, in the studio light pieces 3 & 4 looked to be more of a slightly bluey-green. However, the green options were really no better a match. Similarly the yellow glass is slightly out and also the dark green (less obviously so). So option 1, was stick with the plan to accept slightly different colours to elsewhere in the panel (at the top ), but offset this by replacing all the mirror image pieces not just the broken glass. Or option 2 just replace broken glass and accept the non symmetrical colour scheme that would result.
|
|
If we had stuck to the original plan, the intact green piece at the left hand side of the gap would have needed to be removed next. A further decision needed to follow this one - attempt the re-build without any further glass removal - retains greatest authenticity, since the border glass and its leading is retained. Alternatively, remove the border glass and completely re-build the bottom of the panel. This would have likely resulted in a more pleasing result, as the lead would have all been new and therefore should have been much neater. It would have also facilitated invisible reinforcement and allow removal of the external reinforcing bar that used to cut across the middle of the orange centre piece.
Consultation took place and the client decided to keep with the original plan to replace the broken glass and their mirror image pieces and to dis-assemble the whole of the bottom section to facilitate a neat re-build. In the end I slightly modified that plan, retaining the side borders to try to ensure the finished panel was an exact size match for the re-installation .
Consultation took place and the client decided to keep with the original plan to replace the broken glass and their mirror image pieces and to dis-assemble the whole of the bottom section to facilitate a neat re-build. In the end I slightly modified that plan, retaining the side borders to try to ensure the finished panel was an exact size match for the re-installation .
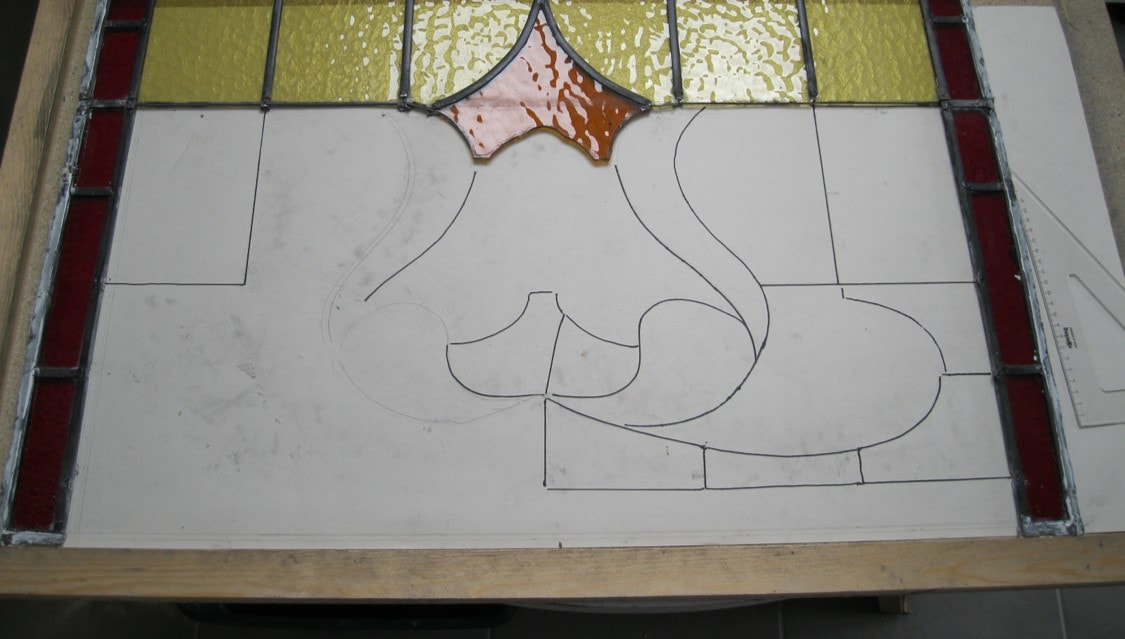
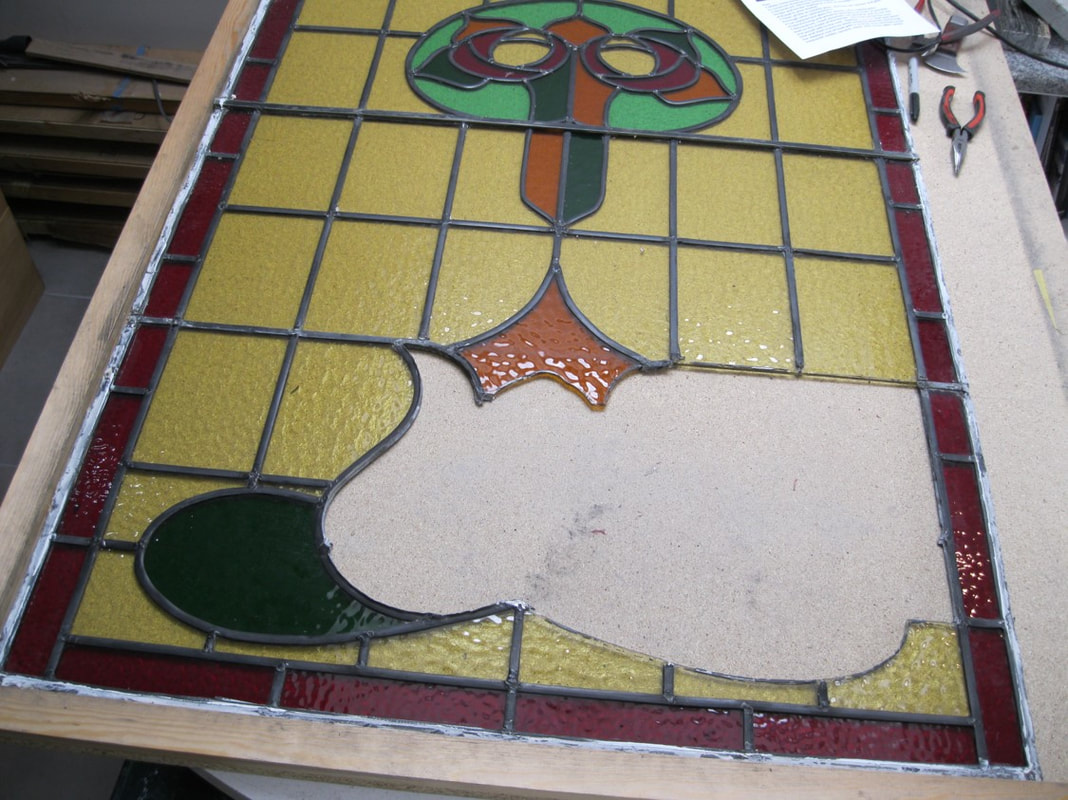
Dis-assembly completed with partial drawing beneath - part of checking the new glass will fit...
|

Recovered and cleaned original glass assembled with templates for the new glass
|
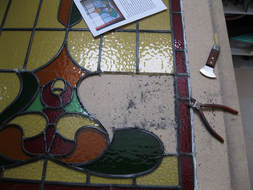
After all the original glass was removed, without any breakages, it was necessary to clean off the old cement. Most unfortunately in the course of cleaning, one piece broke. This has been re-cut from a closely matching glass and hopefully this will not detract from the repair. Interestingly, dis-assembly revealed that the original panel had had some internal steel reinforcement as well as the external bars. This will be restored and added to in the re-build, to eliminate the need for the external bar. Inspection of the glass also revealed that mirror image pieces were not totally symmetrical and one piece of leading in the original was a "fake", laying over a single piece of glass as if there were a join.
Cleaned piece on left, part cleaned and slightly shorter piece on the right
|
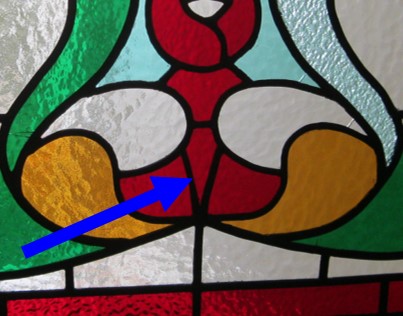
"Fake" / laid on lead indicated by arrow
|
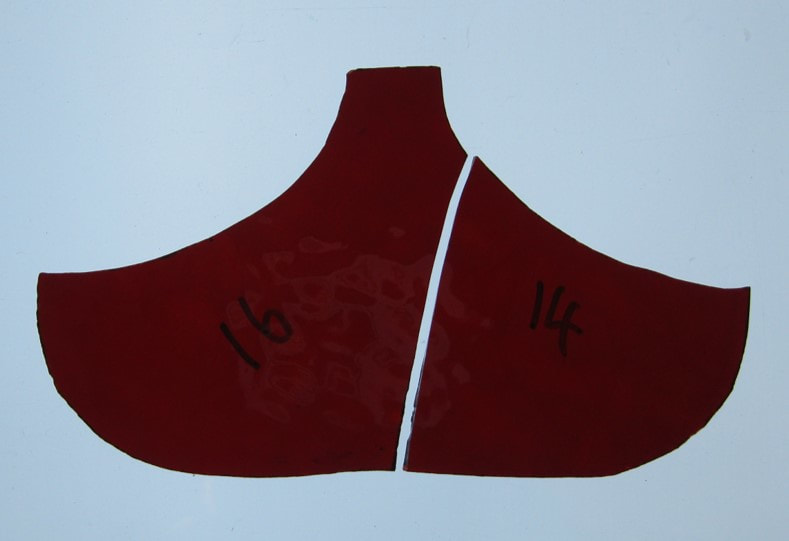
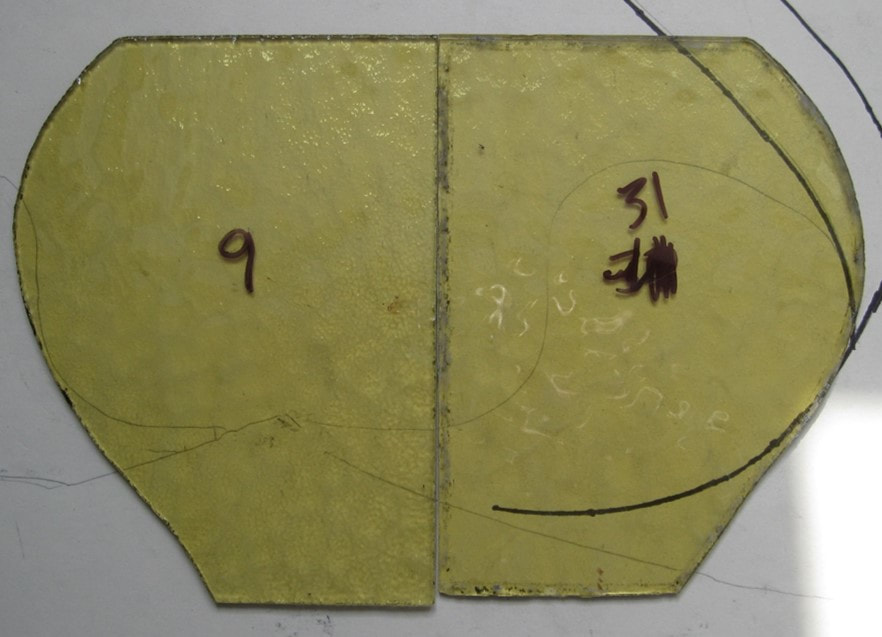
Two, not three, pieces of glass ....
|
Broken piece 28 and re-cut glass
|
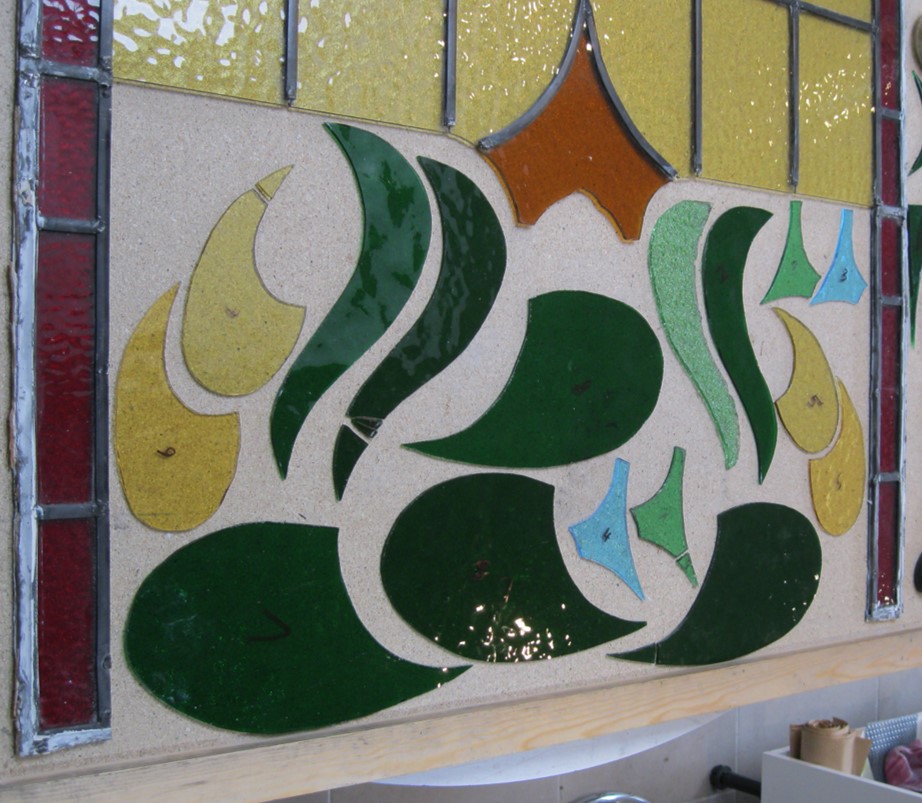
Replacement pieces were cut for the 5 broken original pieces and the three mirror image pieces that were planned to be re-cut to maintain symmetry. They were compared to the original glass, where possible, to confirm a good approximation of size and shape. The next step was to lay out all the glass to see if everything fitted together correctly with the right gaps between. There was inevitably some grinding and adjustment at that point before re-assembly could begin. There was also need for some adjustment to make room for the additional concealed reinforcement that was installed.
|
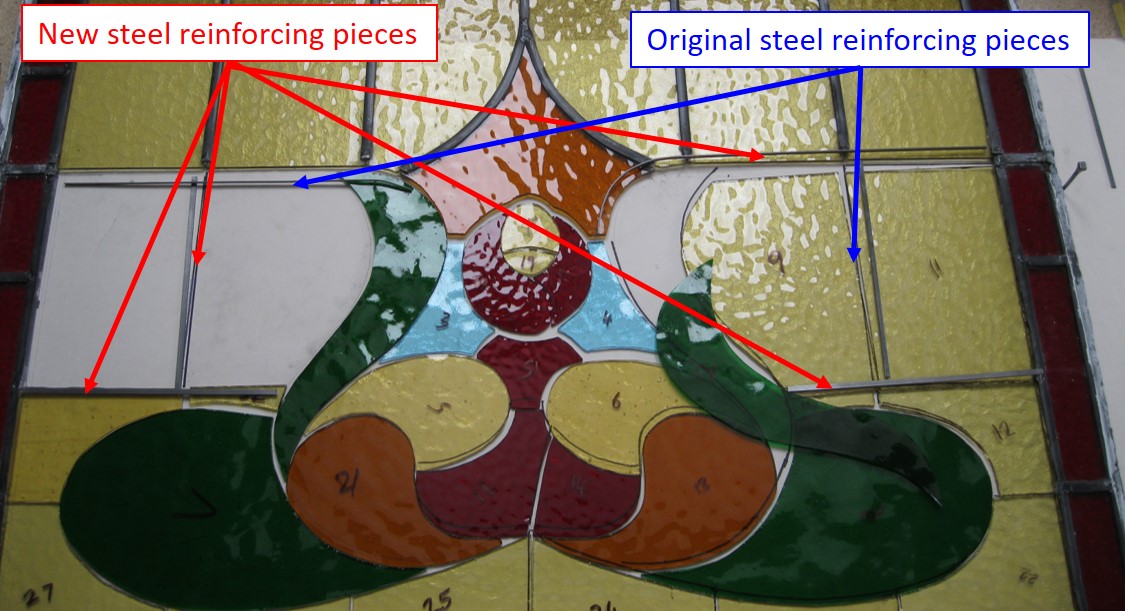
Reinforcing steels cut to size to stiffen the lower section of the panel
Check assembly with steels in place - almost ready
|
There was then a slight pause before beginning reconstruction. There was a little more grinding done to get the gapping right and a period of waiting on delivery of lead kame for the central section that used 6mm round lead kame. Most is 8mm.
The lead arrived to plan which then allowed the re-build to begin, which then in turn provided interest for our Open Studios visitors who got to see the process...
Below is a slide show recording the stages of reconstruction and the finished panel back in place
The lead arrived to plan which then allowed the re-build to begin, which then in turn provided interest for our Open Studios visitors who got to see the process...
Below is a slide show recording the stages of reconstruction and the finished panel back in place