.... First Fruit of the Light-box Experiment
|
Tina and Jason Logan inspired the light-box experiment when they approached us to help bring some light back to their staircase and hallway. Previous owners of their home, Fernbank House in Aberfeldy, had extended the property at the back and, in the process, had erected blockwork across the opening that had previously been a window, a very large window, part way up what would have been a rather grand staircase. The embrasure, window and sill had been retained, but the window boarded up and disguised by a picture. Tina and Jason decided they wanted to bring light and some style back to their staircase. Removing the boarding they re-discovered the window, but this was in poor condition and would have needed a new light to be introduced behind it. They approached us to come up with a solution, both to the window itself and a light-source. You can read about the light-box experiment elsewhere.
|
|
|
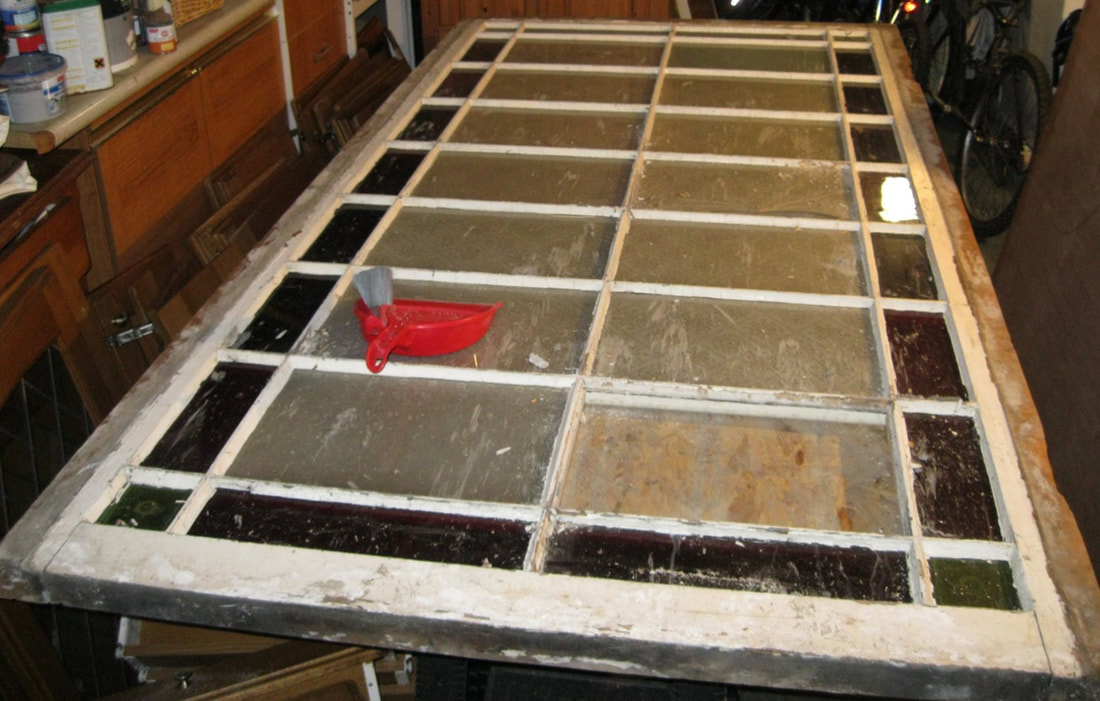
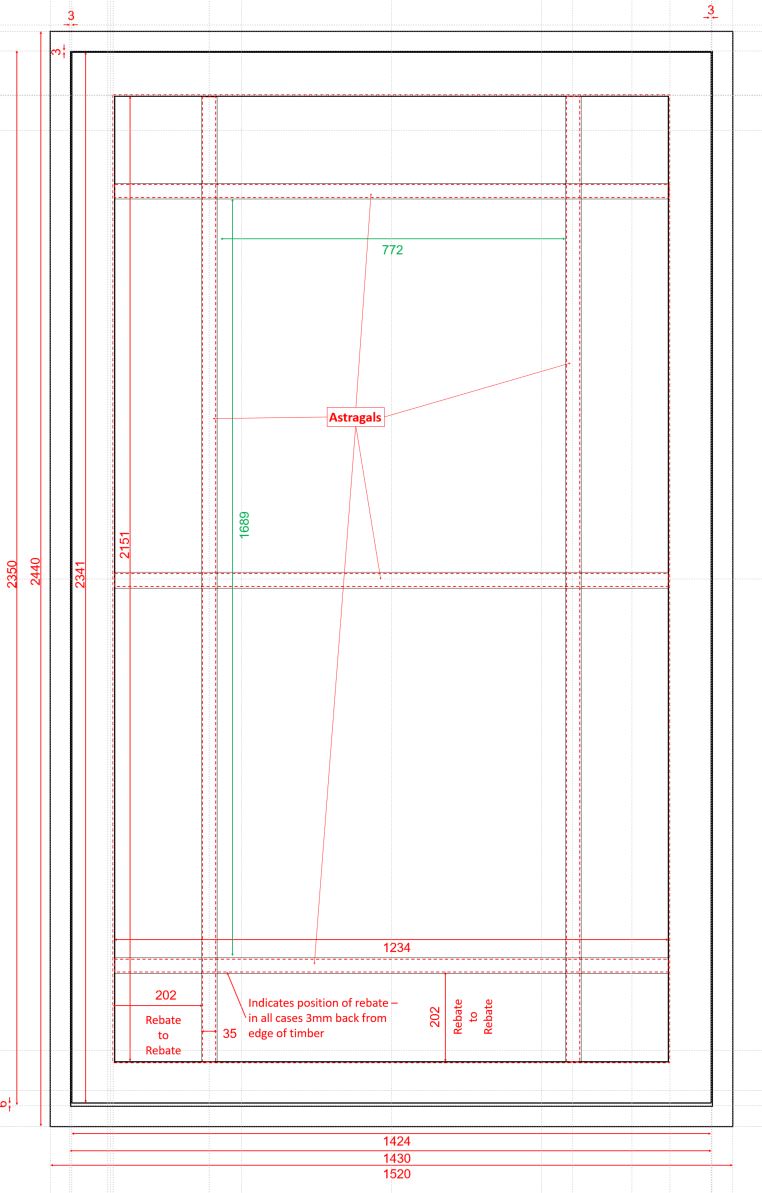
The original window, measuring some 2.4 m high by 1.1 m wide, comprised a mass of etched glass panels with a border comprising mostly of plain red glass, but with four hand painted square pieces in the corners. We presume this was all Victorian in age and part of the original construction. The window is pictured at left after extraction from the staircase. As the picture shows this was not a leaded window, each piece of glass being framed by wooden astragals and held in place by putty. There had clearly been breakages in the past, with some plain and non-matching, etched glass, replacing original glass (which had clearly, originally, been of one design), and with some of the red glass similarly not quite matching. Restoring the window and somehow getting light behind was rapidly dismissed as difficult and un-inspiring. What was sought was a traditional leaded panel (or rather panels) as the opening was too challenging to be executed as a single panel. So new framing for the glass had to be designed as well as the glass and light source.
|
|
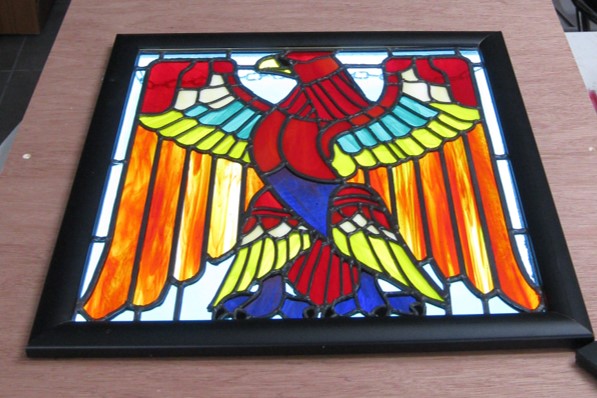
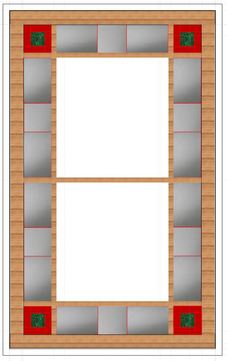
In the early days of designing the leaded panels, two options were conceived for providing the light source. The first and most obvious, but rather inflexible option, was a series of LED panels. These are flat, thin and provide even illumination. We have such a panel in the form of a light-box for work in our studio, as shown at left. The first idea then was to procure a series of panels that conformed as closely as possible to the size of the space to be lit and the fixed sizes found in the market to some extent drove the initial design of the frame. Conceptually, we envisaged a central panel or panels with some appealing design and suitable colours - geometric or pictorial was yet to be decided - with a border, most likely to be in part filled with salvaged glass from the original. The particular advantage of this approach was the thin-ness of the panels - not a lot of space would be required behind the window to light it, it would be even, reasonably cheap to run and not create a problem with heat generation. The new window frame could thus sit pretty much where the existing frame was located. The image at left shows such am arrangement of differently sized panels that could have served the purpose. However, without going to the expense of bespoke sizing, availability drove a very wide border and a rather awkward central space. Though the panels ultimately were abandoned as the solution, the overall idea carried through.
|
|
|
Once the Light-Box experiment had convinced us and our clients that back scattered LED light was the way to go, we re-sized the border and central panels around what we considered was "do-able" both from the size of the resulting leaded panels, but also the strength/size of the supporting woodwork. There was also a desire to maximise the decorative part of the result and reduce the border compared to the first concept. It was clear that the framing would have to be hinged to allow access to maintain/replace the lighting, so advice was sought from a local joiner and the framing designed as shown at left. It will be hinged at the right and held closed by a simple window bolt type lock at the left side. This compares to one of the concept designs as shown at right - narrower border, better proportioned central panels as a result of the shift.
|

|
|
The next challenge was to salvage as much glass as possible from the original window, clean it up (there was a lot of mortar from the block work adhering to the glass as well as paint and putty) for re-use in the border - depending on success would be the border design...
The recovery was almost always challenging, as each piece of glass was puttied in place and the putty was old and rock hard -how could the putty be removed without breaking the glass? Some sections were easier than others, for though the putty was in itself rock hard, the mass had rotted a bit and the bond to the wood had been weakened by woodrot. This enabled some pieces of glass to be removed, intact, with out much tension. We were particularly fortunate in recovering the hand painted corner pieces without breakage. We also did fairly well with the red glass even though much of this was very fragile 2 mm glass. We were somewhat less successful with the etched glass, several pieces breaking in extraction while a couple of others were damaged enough in extraction that cracks afterwards propagated leading to two failing under their own weight when picked up for cleaning. Nonetheless, 7 whole pieces of the main etched glass were recovered and a couple of nearly complete pieces and the initial thought was that these would comprise the main part of the border. |
|
|
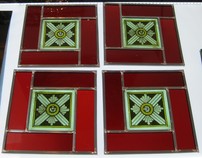
From the outset we had agreed with our client that it would be good to salvage and re-use as much of the original Victorian glass as possible. Admittedly more for its historic value than for pure aesthetics. Having said this, all the salvaged glass was quite attractive in its own right so working it in was not really a burden. The size of the border was in part established by the desire not to make the central panels too large or to make the structure of the sash too challenging. In detail it was determined by the decision to re-use the c 10 cm square hand painted glass pieces in the new corners. Too small on their own as they had been in the original window, we basically settled on double size squares c 20 cms square and that then determined the rest of the border. Given these dimensions, there was not enough red glass recovered to play a significant part in the main border and so it was decided to use some of this to make up the balance of the corners, as indicated at left. It was thought initially that there was enough of the etched glass to do the rest as shown also.
|
|
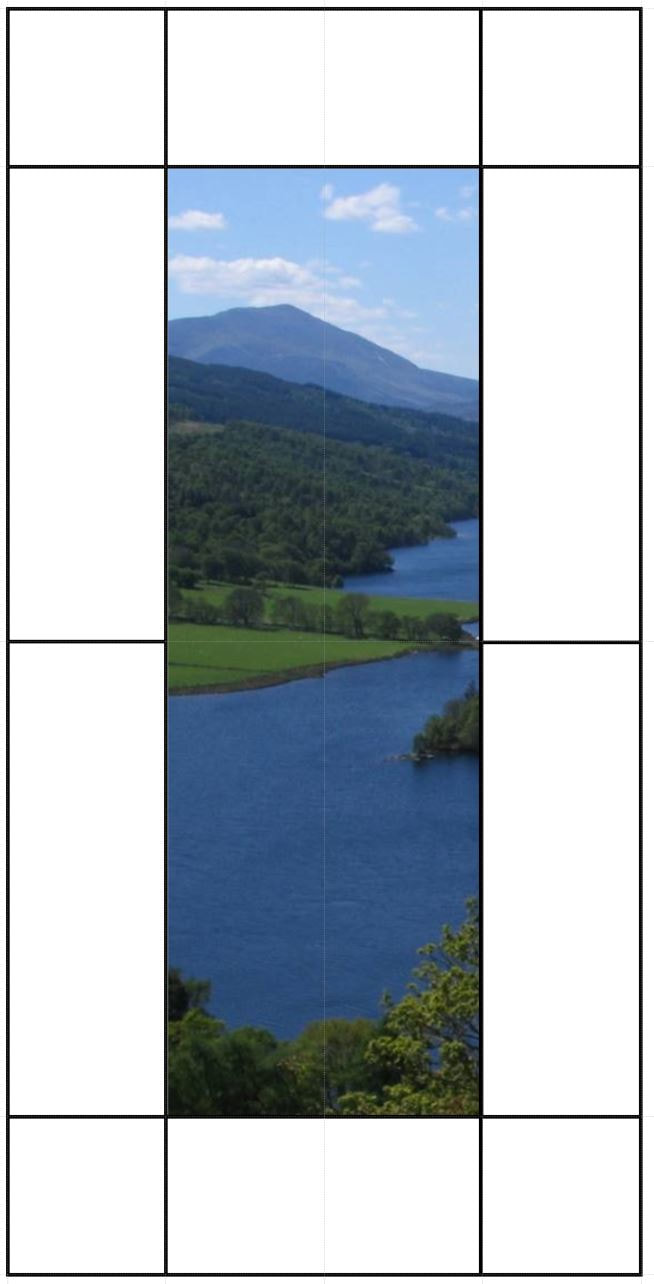
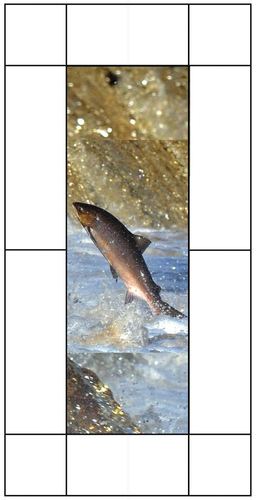
Having thought that the border design was settled, we then turned our thoughts to the main panels. From initial conversations with the client a pictorial representation rendered in leaded stained glass seemed to be favoured and the only concepts actually worked up at all were options of what might be suitable pictures to use as a guide. Mountain scenes , a leaping salmon and a stag were early thoughts. The stag seemed to be best received and in the end, this was the only option taken to any level of detail. Having said this, even after significant detailed effort, doubts were voiced and changes much debated before the go ahead was given.
|
|
|
|
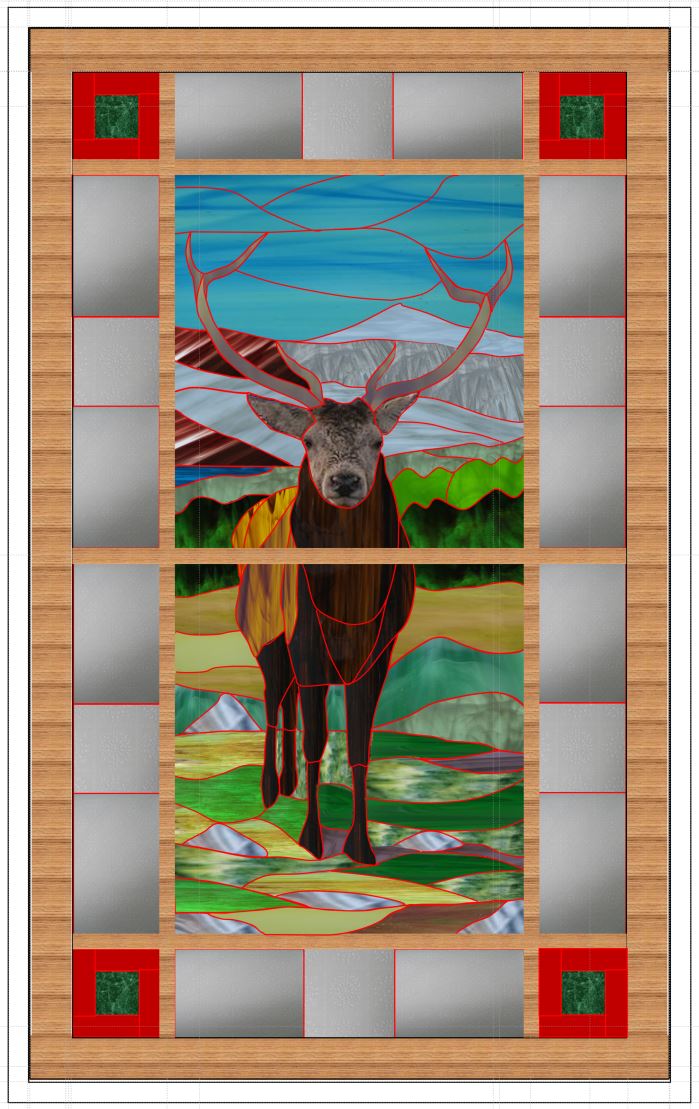
The picture at left is the design as it stood when final approval in principle was given. At the time of writing, more work is to be done on the choice of glass for the foreground, but it was not expected there would be any changes to the shapes, going forward from this point. However, this almost immediately proved to be wrong!
Most of the representation of the scene will be achieved by shape and the choice of colour of stained glass. The plan is to do the stag's head in a traditional painted manner. |
|
With the major elements of design fixed (or so we thought....) sash construction commenced. This in turn would deliver definitive final sizes of the leaded panels and allow construction of these to begin.

The almost finished sash in process of being sanded and finished in the Joiner's workshop
|

Detail of the sash showing the moulding of the astragals and the spaces for the border leaded panels
|
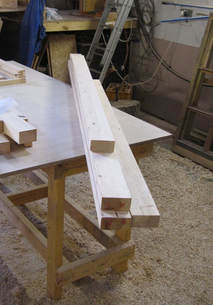
Timbers for the frame, cut and awaiting jointing.
|
Leaded Glass work begins in earnest...
|
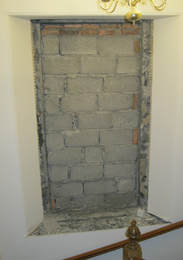
With the dimensions secured from the sash, work on the border commenced, starting with the corner pieces. One of the reasons for getting on with these parts so soon, was an awareness that the removal of the obscuring panel and old window had left a scar in our client's home and we were anxious to relieve this situation as soon as possible. Our game plan is therefore to get the sash installed as soon as we can, along with the light box behind. The border can then be installed to further improve the optics while the main panels are being built.
|
|
|
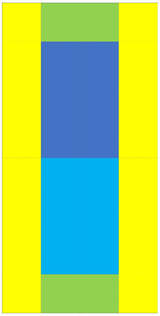
With the corners finished, we turned to the other border panels that were intended to be simple and comprise solely of salvaged etched glass. Unfortunately, when the individual pieces required had been sized up accurately, we found that we did not in fact have enough glass to complete the design - a rapid re-think was required. After a number of ideas were developed and dismissed for various reasons, we agreed a new design with our clients, echoing the corners, but using modern green glass ( similar in colour to glasses found in many Victorian windows) as the framing glass
|

|
Progress in Pictures
Below you will find a slide show that will trace the ongoing work as it happens